31st October 2022
Leaking radiator valves can quickly become a hazard if left. A sizable leak could eventually damage your flooring or furniture. This is why it’s important to investigate the issue, and fix it as soon as you can.
If you’ve got a leaking radiator – don’t panic! Most leak issues are easily handled, and you can even carry out the repair yourself. When fixing this yourself, it’s useful to have some general knowledge on radiators and how they work. You can find out more in our Guide to Radiators.
For more complicated leaks, you might want to call a plumber. A professional will not only come prepared with the right tools, but they’ll also offer expertise – useful if you aren’t sure how to stop a radiator leak yourself.
Detecting a Leaking Radiator Valve
The first step to fixing a leaking radiator is finding the source. While a radiator leak may be easy to spot, the source might not be. There are a few simple steps you can take to find out where the leak is coming from.
- Get your equipment ready – get some old cloths and a bucket ready. These will help you soak up water already spilled on the floor, and collect any more that spills during this process. It’s also a good idea to have some tissue paper handy.
- Dry the radiator – with one of the old cloths, pat the entire radiator dry. You’ll soon be able to see water where it appears on the freshly dried radiator.
- Check for dampness with tissue paper – pat tissue paper across the whole surface of the radiator, including the valve and pipes. Locate which area wets the tissue – this could be where the leak is coming from.
Is a Leaking Radiator Valve an Emergency?
If your radiator is leaking small drops of water, it’s probably not an immediate emergency. However, it’s still best to fix a leaking radiator as soon as you notice it. A radiator that’s left to leak can create a slip hazard in your home. It can also lead to problems like water damage to your flooring and furniture. Getting a leak fixed promptly can help prevent these types of issues.
Why Is My Radiator Valve Leaking?
There are several potential reasons for a radiator valve leaking water. One cause of a leaking radiator is damage to the spindle packing. This type of leak often happens when your valve is left slightly open, and typically stops when the valve is fully closed. A reputable plumber can easily fix this leak. Another common cause is a loose union nut on the lockshield valve. This can be a complicated problem to fix yourself, and we recommend you seek the expertise of a professional to help you.
How to Fix a Leaking Radiator Valve in 10 Steps
Leaking radiator repairs can be quite tricky and, if done improperly, you could risk further damage, which can include:
- Distress of brass
- Dezincification of copper pipes
- Crimped glands
- Unintentional removal of olives
- Over-tightened joints.
If the union nut on the lockshield valve is the source of the leak, you might be interested to know the steps to fix it. However, it is worth considering the risk of further damage and assessing whether you should attempt to fix the problem yourself. If in any doubt, we suggest seeking professional help to assist with your leaking valve.
- Get your equipment ready – you’ll need a bucket, old cloths, an adjustable spanner, and PTFE tape.
- Protect your floors – cover the floor surrounding the radiator with the old cloths and get the bucket ready to collect any water that escapes from the radiator.
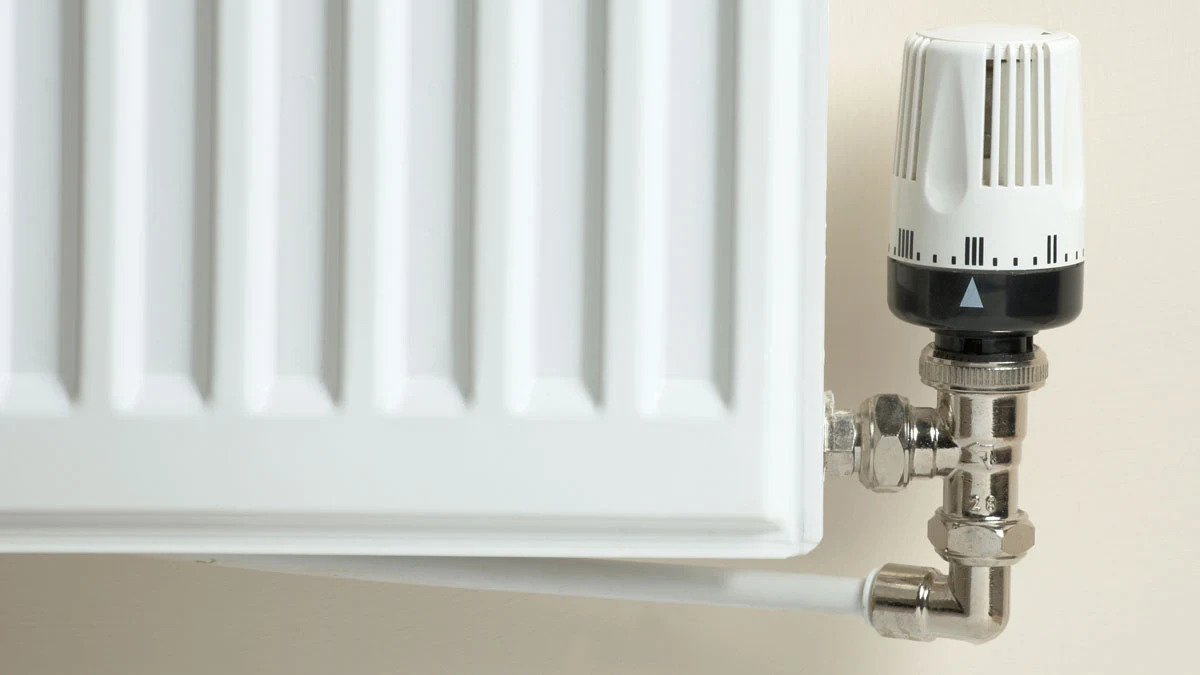
- Switch off the radiator valves – switch these off on each side of the radiator. The way to switch off your radiator valves will depend on the type you have. Learn more in our Guide to Radiator Valves.
- Open the radiator bleed valve – check the valves are switched off by opening the radiator bleed valve. If no water comes out, or very little spills after it’s first opened, you should be okay to carry on. Learn how to open the radiator bleed valve in our guide on How to Bleed a Radiator.
- Close the bleed valve – make sure the bleed valve is fully closed after checking for water.
- Loosen the union nut – use the adjustable spanner to loosen it until you expose the olive. The olive is a fitting that looks like a gold ring. Have a container below the nut to catch any water that spills out.
- Apply the PTFE tape – wrap PTFE tape next to the olive around the exposed pipe.
- Retighten the union nut – using the adjustable spanner.
- Turn the radiator back on – switch the radiator valves back on.
- Check for leaks – check the radiator valve for any further leaks.
If the radiator valve stops leaking you won’t need to do anything further. However, if the radiator is still leaking, the issue might be bigger than a simple fix.
When to Replace a Leaking Radiator Valve
If your radiator is still leaking after following our step-by-step process, the radiator valve may need replacing completely. When replacing a radiator valve, ensure you choose one that’s compatible with your radiator.
Replacing a radiator valve can be complicated. If yours needs replacing and you’re not confident doing it yourself, call a professional. You can contact Hometree and get one of our plumbers in to help.